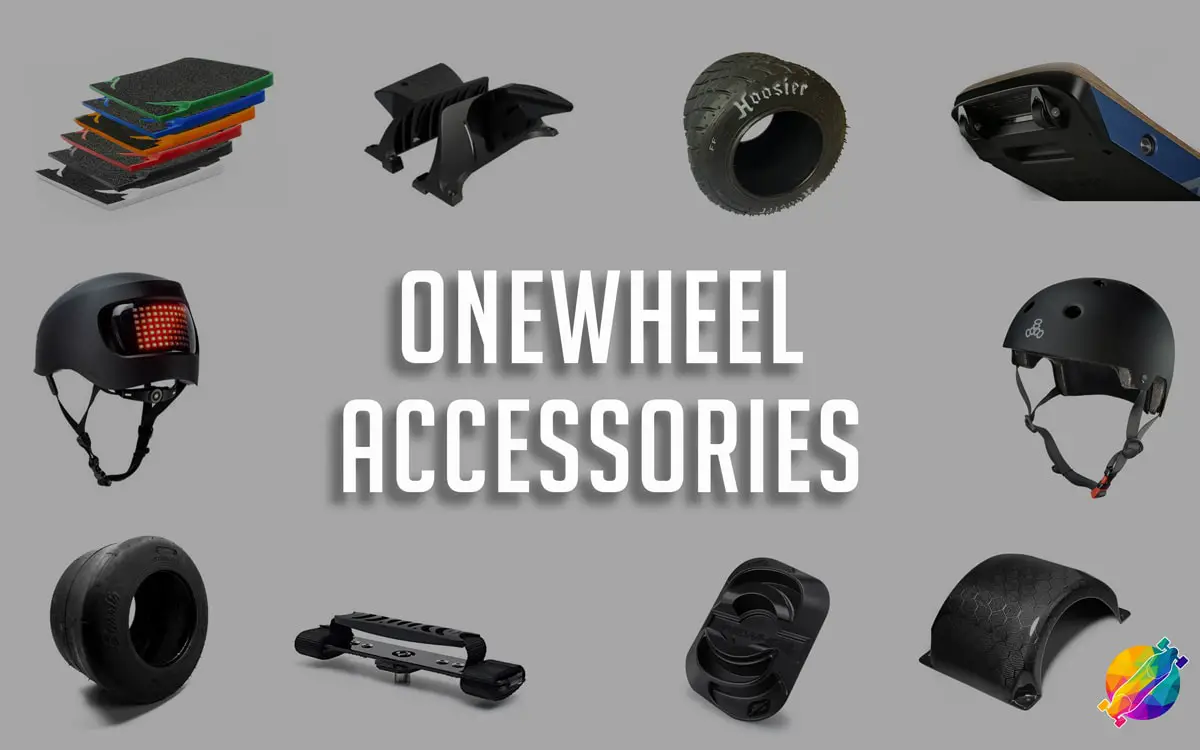
Now that you’ve finally taken the plunge into the Onewheel world, it’s time to make it yours! Many enthusiasts around the world have created their own accessory companies surrounding the Onewheel, like TheFloatLife and Craft & Ride, making it cheaper and easier to get the parts you need, rather than buying from Future Motion. This market has endless accessories for style and safety, and in today’s post I’m going to break down the most important accessories for any beginner or intermediate rider looking to personalize their board and double down on safety. My name is Nolan and this is my third post to the website! For reference to the reader, I have 700 miles on my +XR, splitting my riding 50/50 between trails and streets. I also am a 20 year old university student, so much the same as some of you, I’m quite price-sensitive to additional costs for my Onewheel, which I’ll make note of throughout this post.
Helmet
Buy a helmet before you buy the Onewheel, because if you get the Onewheel early you’re going to end up riding it without one. This is just a no brainer, you need at least a skateboarding helmet to hop on a Onewheel safely. Now, since the Onewheel doesn’t go over 19mph I wouldn’t recommend anything more than a normal helmet, but if you want the full face TSG pass for the ‘look’ I can’t stop you.
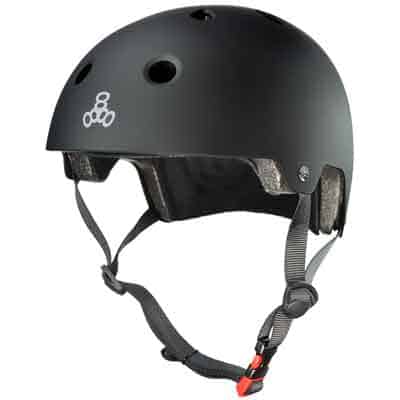
The Triple Eight Dual is probably the most common and safest skateboarding helmet, without breaking the bank. It has an adjustable crank for size and is quite comfortable even in hot conditions.
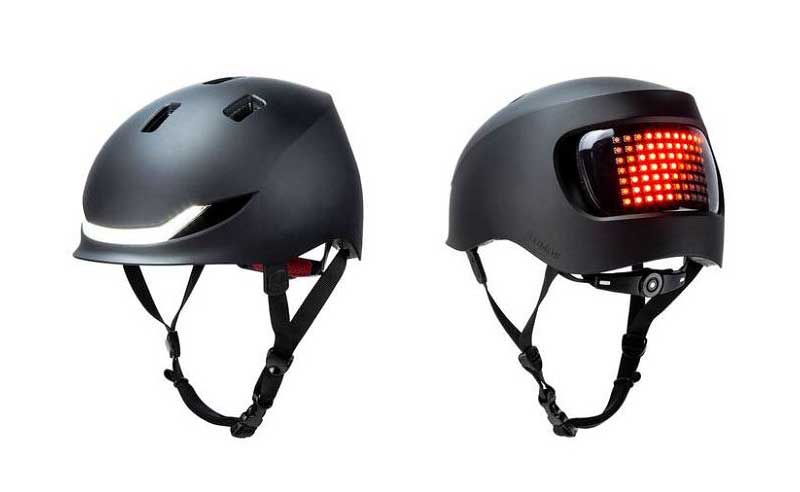
If you’re looking for more safety features in this style of helmet, the Lumos Matrix is another great choice. It hosts very large front and rear lights to signify direction, but comes with a big markup, retailing for around $250 USD.
If you’re still interested in modular and full-face helmets for your Onewheel riding, you can check out our post on “The Best and Safest Onewheel Helmets”.
Fender
MUST HAVE. If you live in a place where it has even the potential to rain or snow, you’ll be glad you have it. If you haven’t ridden in the rain without a fender, trust me, your pants and shoes will be soaked, I learnt that the hard way. In terms of the products available, you can either get a magnetically attached fender, or a bolt on one, with a range of options in each.
If you’re limited by budget, the bolt-on float fender from TheFloatLife is a great option, coming in at only $39 USD. It utilizes a flexible design to take falls without cracking, with thumb screws for easy removal during a ride. In terms of durability, the only concern is losing a screw during a ride (which happened to me) but it can be easily fixed with a zip tie or duct tape. I would personally recommend staying away from actual ‘bolt on’ fenders from Future Motion and Craft & Ride if you’re a trail rider, as they can easily crack and cannot be removed to get rid of debris in the wheel well.
Craft & Ride’s magnetic fender is definitely my favourite, as it gives you the protection of a bolt-on fender while being easily removed to clear debris. The fender has small magnetic plates that you screw into the rails, which allows the fender to snap on without any hassle. For longevity I would recommend the carbon fiber version, if you don’t want to ever worry about a break, but if you’re price sensitive the plastic version should last you a while as long as you don’t step on it!
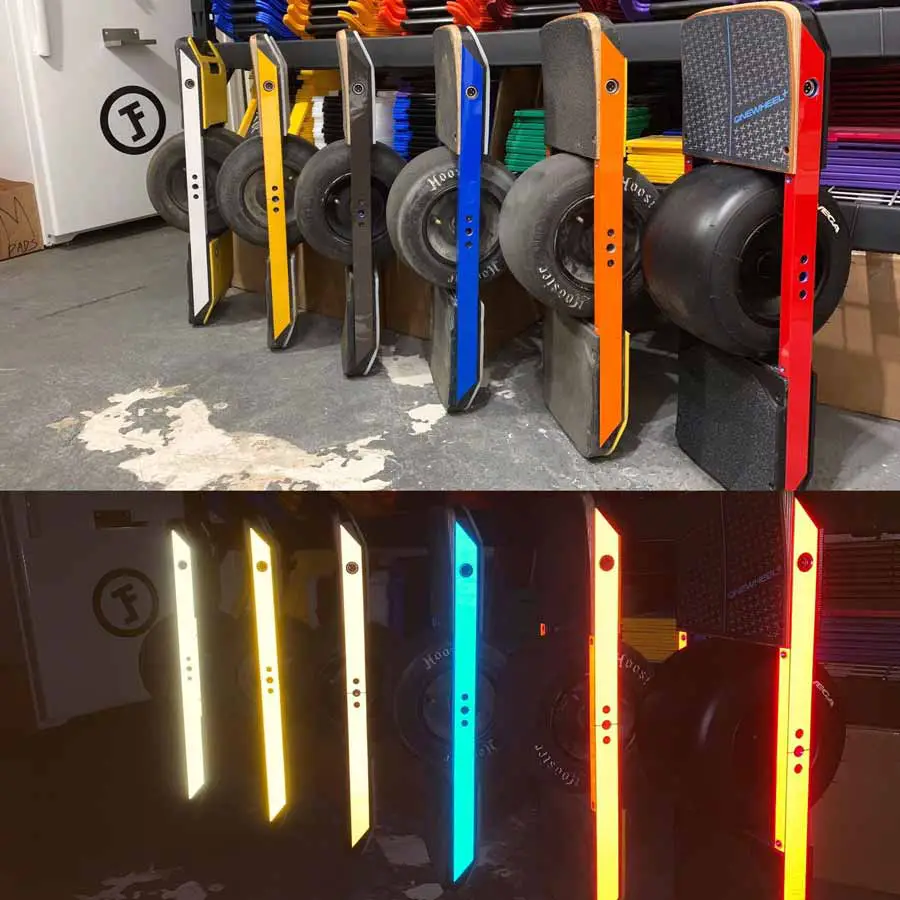
Sidekicks
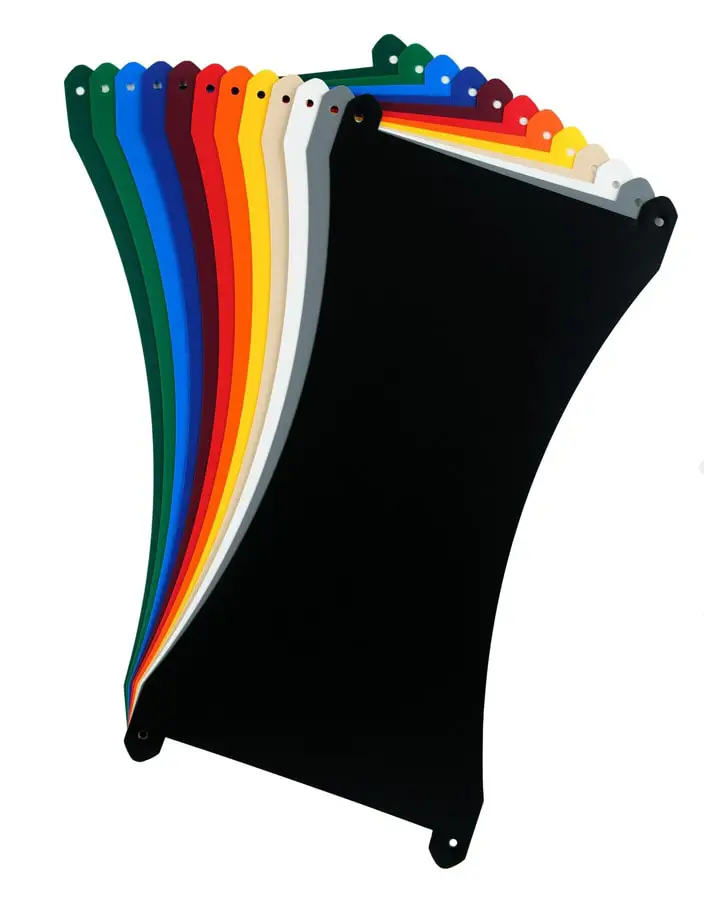
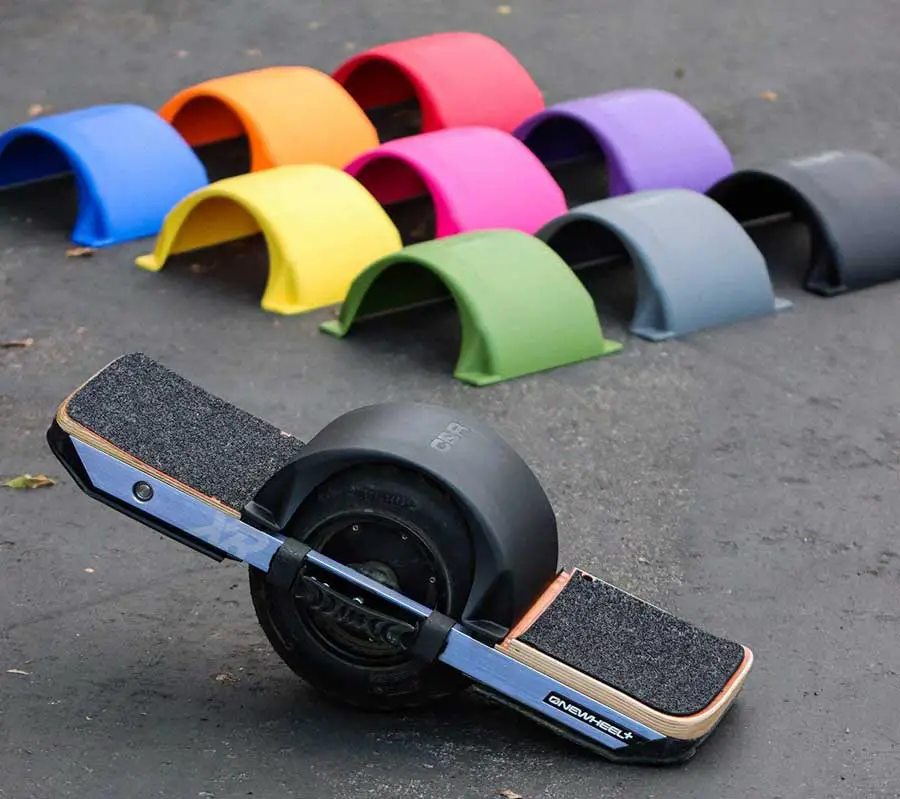
Sidekicks are one of my favourite accessories, as they let you completely change the styling of your board while also adding protection for potentially higher resale value in the future. Whether you buy these from Future Motion or a third party company, they will essentially all be the same other than type of adhesive and logos. The sidekicks are a plastic guard that goes over the sides, top and bottom of the aluminum rails, with hole punches for necessary ports and buttons.
Right now, with Craft & Ride’s sale, you can get TheFloatLife sidekicks for $16.99 USD in a range of different colours. For price conscious buyers, like myself, this is a great way to keep your board fresh every few months without spending over $100 USD per year. Since they’re so inexpensive, you can also buy multiple colours and selectively add different pieces of the sidekick to make it truly yours!
Feel free to check out our other One Wheel Articles
Tire
This section will also be mostly dedicated towards the + and +XR owners as the Pint’s tire is already quite rounded and carvy. There are many different options for tire changes on your Onewheel that can completely change how the board feels and performs on different terrain. I will say, the stock Vega is a great tire to start on, as it’s very stable and grips the road very well. Many non-technical users don’t even think to change their tire as it’s a very stressful and long process, but if you can get past that, it’s well worth the effort. Firstly, we’ll look at the best slick tire options, which means a tire with no tread of any kind. The best option here would either be the TFL x Burris 6’ or the Hoosier Whisper 6’, which both add a softer compound for the tire and create a more rounded profile better for turning.
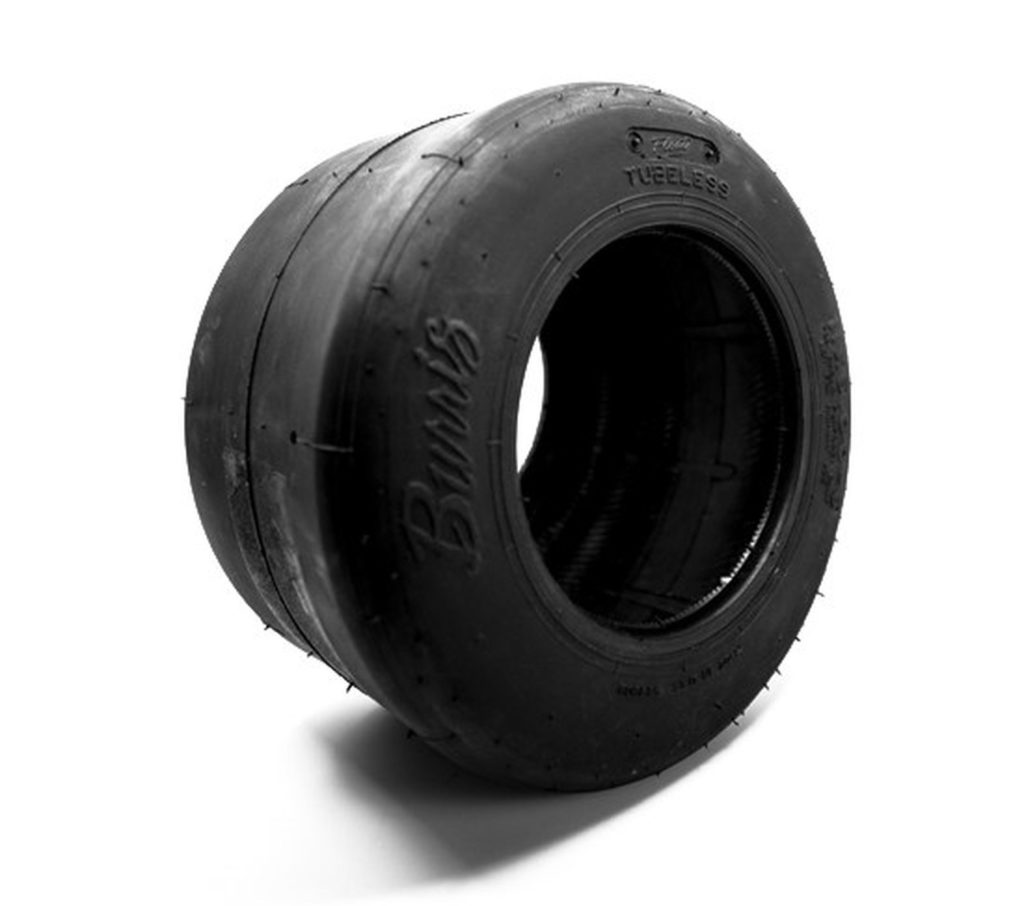
TFL x Burris 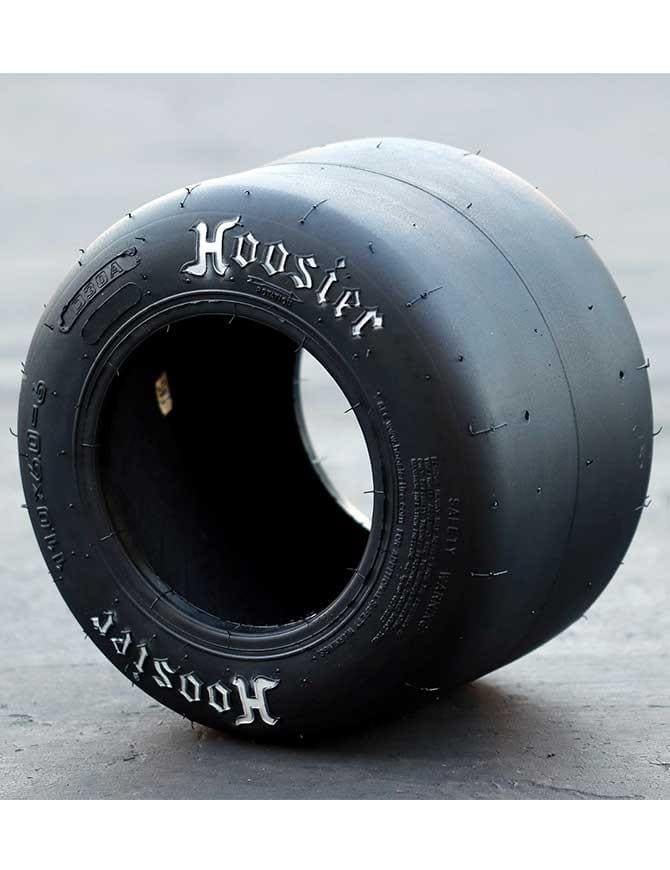
Hoosier Whisper
With this more rounded profile, both tires have a smaller contact patch when riding, which theoretically increases top speed, torque and range. These are the most popular tires for the Onewheel as they are familiar when compared to the Vega while adding efficiency and carviness. The other option for a new tire would be a treaded version for better grip on loose terrains. I would only recommend this to majority trail riders, as these tires take a big hit on performance when it comes to the pavement riding experience. Both of the tires I previously mentioned have treaded counterparts, called the Hoosier T2 and the Burris Treaded, which are also the most popular options in this market segment.
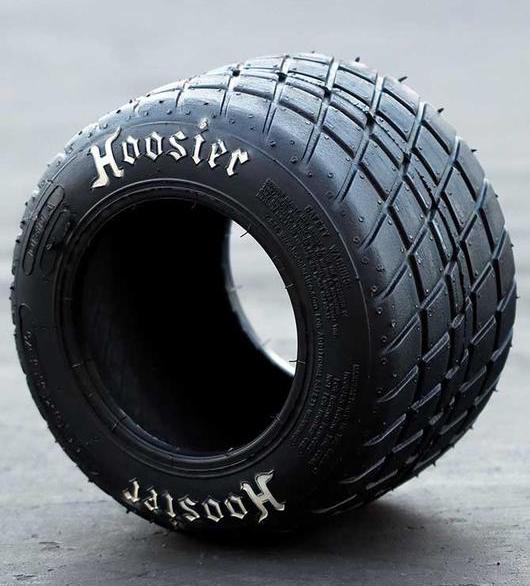
Hoosier T2 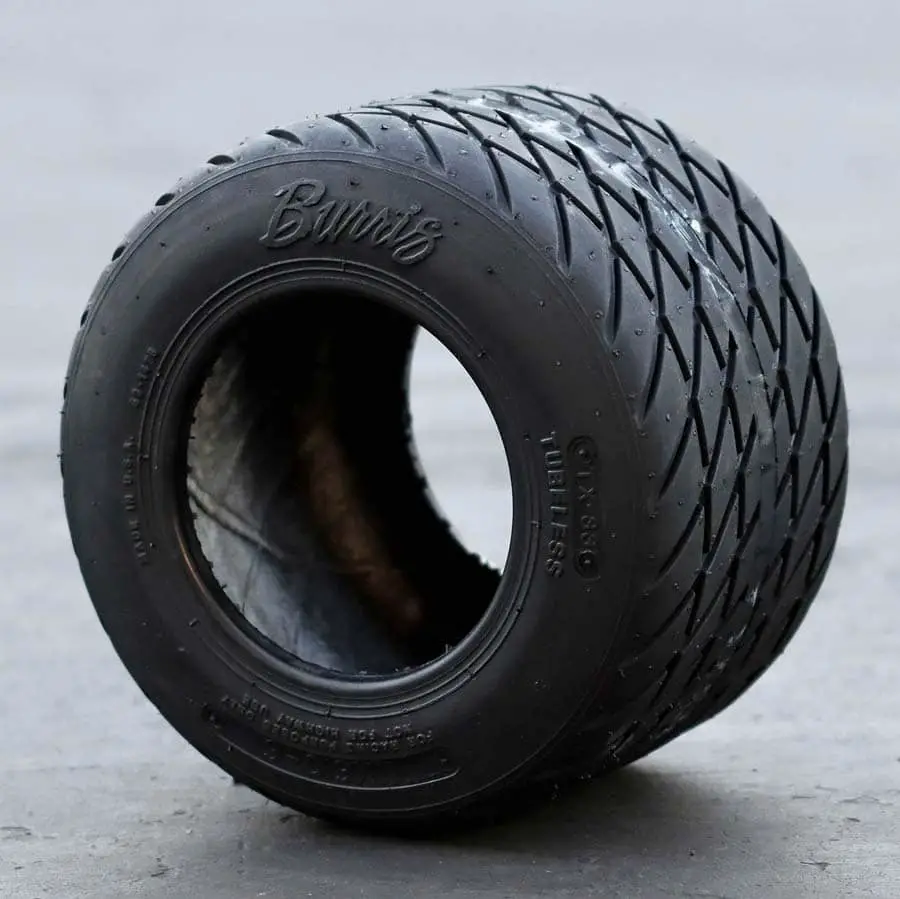
Burris Treaded
With either of these, you’ll expect much more performance and grip on trails and other loose surfaces, while also adding more hill climbing power. On pavement with the T2, you’ll notice a vibration and slight buzz when riding as the treads create somewhat of an uneven contact patch, but with the Burris, it adds a slick center ring to give you a smooth contact patch on pavement. With any tire upgrade, you’ll notice a great improvement in your specific use case, whether that’s carving or crushing trails, but it’s not like you couldn’t do these things with the stock Vega, it’s just easier to do with these tire upgrades. So I would recommend getting comfortable and even wearing the stock vega out before you take apart your entire board and spend $85 USD on a new tire.
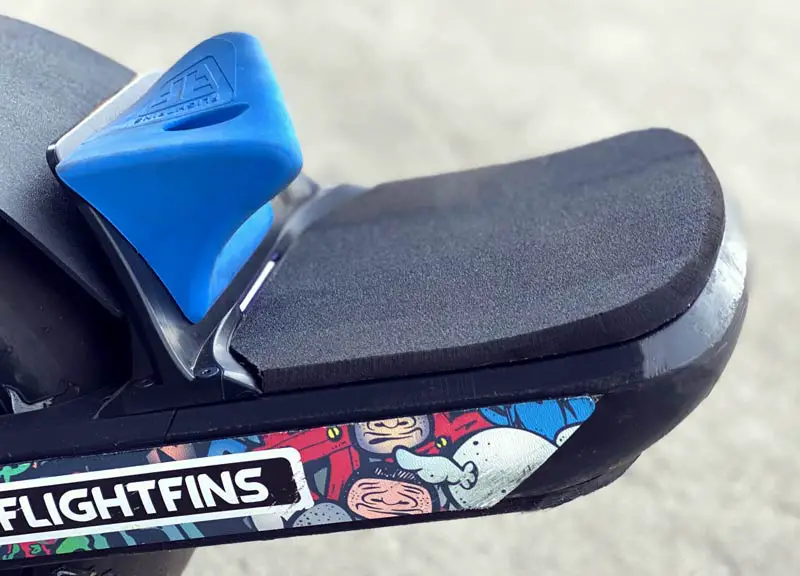
Flight fins
The FlightFins are one of the most unique accessories to the Onewheel as it adds a form of bindings much like a snowboard, to lock your feet in and allow you to jump and drop with the board. At the same time though, this is the most dangerous accessory as it literally ‘locks you’ onto the board for better or for worse.
This is why I would only recommend this to very experienced riders, as you must be very comfortable and confident in dismounting and bailing from the Onewheel. In order to use this product you will need the Flight Fins Flight Deck, which is essentially a split fender with a shield covering the wheel well, with grooves on the outside of the fender to connect the Flight Fins. You can also buy the kit together which will save you some money coming in at just under $180 USD, where you can select the colour of each piece.
Most people buying the Flight Fins are looking to either improve their trick abilities, adding a whole new dimension with Flight Fins, or just to add to comfort and ride stability on rough terrain. Many users find that with a piece locking down your feet, you feel more control and balance, much like a snowboard, where you can lean harder into turns, pull harder on stops and drop off higher obstacles.
New Back Foot Pad
A new back foot pad is a great way to upgrade your ride feel and decrease foot fatigue for longer rides. All back foot pad upgrades will increase the slope of the footpad and create a concave profile to lock in your foot, the differences between the foot pads lies within the material and the amount of slope and concavity. The most popular foot pad is the Kush Nug Hi/Low, which both come from The Float Life and offer a softer material with extreme concavity.
Both retail for just over $100 USD with the Kush Nug Low being the cheaper of the two since it uses less material than the Nug High. Both foot pads are fitted with The Float Life grip tape and come with a front foot pad replacement as well. The other common option for back foot pad replacement is the Craft & Ride OneTail lineup, offering many different levels of slope and concavity on a wooden pad.
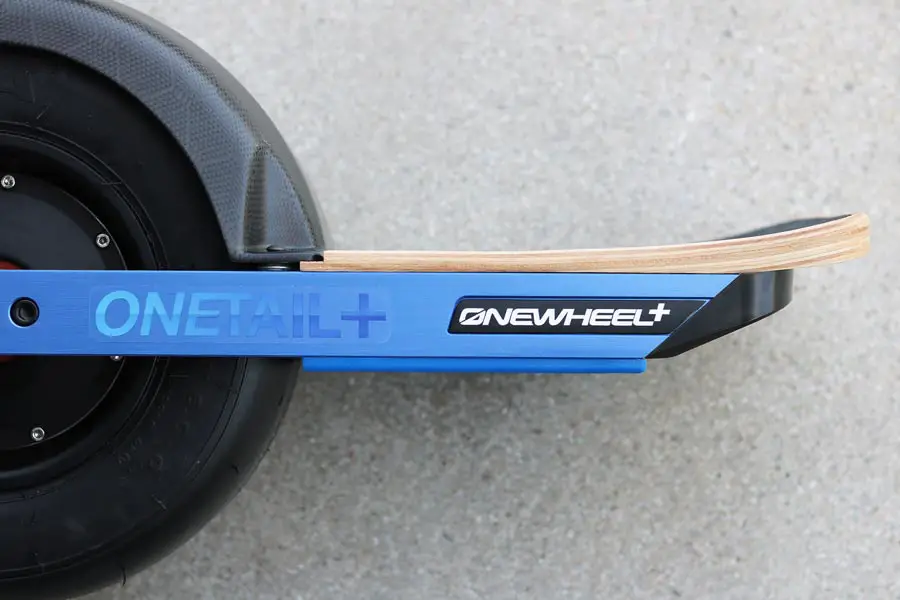
The OneTail + has a unique design that actually goes past the back end of your Onewheel rails, giving you a larger platform to stand on and easier back weight transfer due to this extra length. Much like the Kush Nug, the OneTail+ comes just over $100 USD and also includes Craft & Ride grip tape pre-installed with a replacement for the front foot pad included. The company also offers a normal sized pad that fits flush with the Onewheel’s rails at a discount, much like the Kush Nug Low. For this accessory, I would not give much priority to it as your comfort and foot fatigue will begin to get better and better as you consistently ride. Yes, the foot pad does add comfort and control, but for how expensive it is to only create a marginal difference you’d rather be getting a long list of other accessories first.
Fangs
The Fangs, and other products like it, are simply just wheels put in front of the nose to help you ‘ride out’ a nosedive. This product isn’t terribly common in the community, but the people who have used it are huge advocates for their added safety and peace of mind. Fang’s are a product from Land Surf, a Onewheel accessory company in the U.S, and retail for around $55 USD utilizing very small plastic wheels that essentially disappear into the front bumper once installed.
In terms of actual use, these will only be applicable on pavement as the small plastic wheels won’t have any grip on loose terrain. The most common situation for The Fang’s is a steep uphill climb where you’re not paying attention to your weight distribution and the nose quickly smashes to the ground before you can react. Now this may not seem very common but the consequences from a fall like that could take months to heal from, not to mention the loss of confidence or the amount of skill and intuition lost from such a long period off of riding. Now, if you don’t believe those wheel’s are large enough to hold you up during a nosedive there are other DIY options others have used to create a more full-proof system.
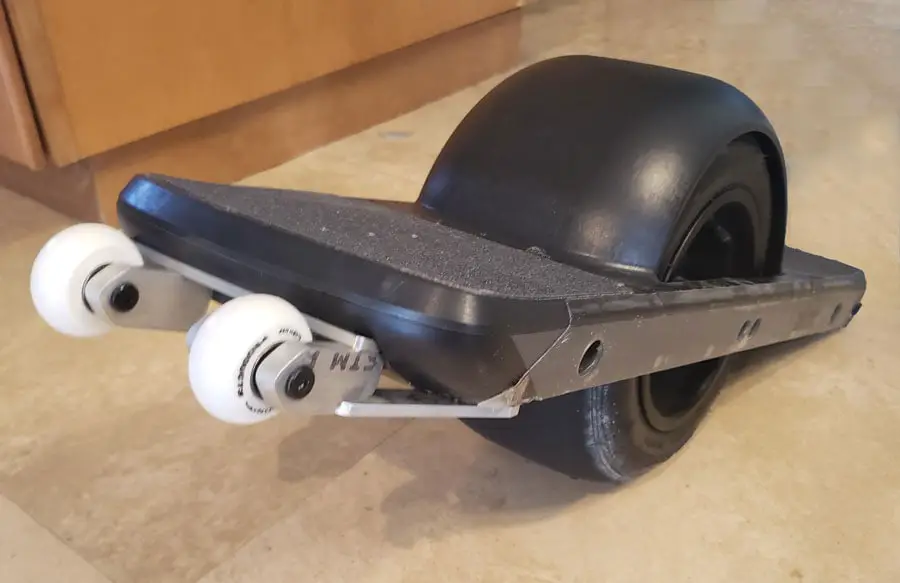
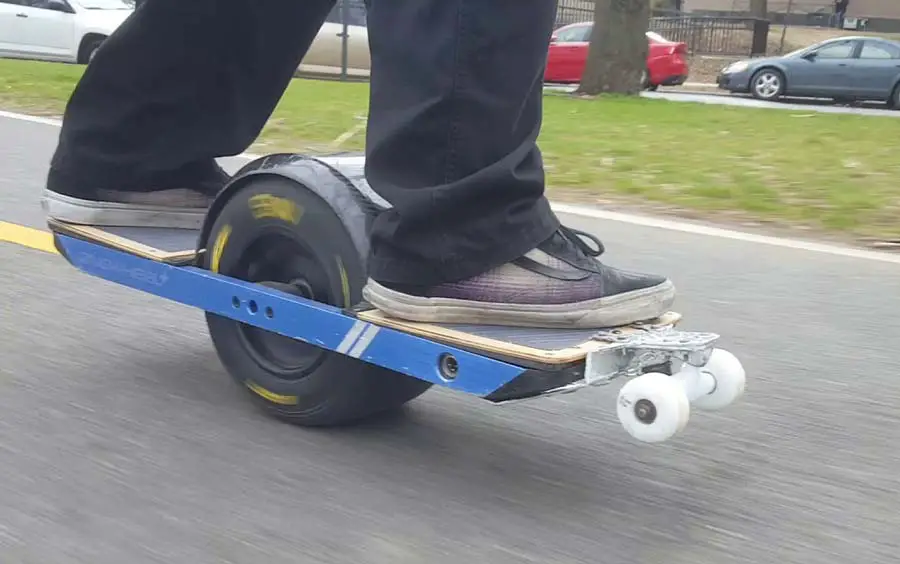
The most common one I’ve seen is attaching a bar across the front of the front foot pad and using rollerblading and longboard wheels to catch you, which adds to the amount of contact the wheels have with the ground and gives you a smoother ride through the nose dive. Obviously, this is not the best looking solution, but if you want the most practical and safe way to ride through a nosedive this would be your best option.
Gloves
I don’t personally believe longboarding gloves are necessary on a Onewheel, but some other options in the market may be of interest to some of the beginner riders. Triple Eights Hired Hands wrist guards are probably the best option, as they don’t cover your fingers and focus solely on wrist impact. They utilize a large plastic piece to cover your palm and wrist, which is the most likely place you’ll fall onto when you nosedive or bail.
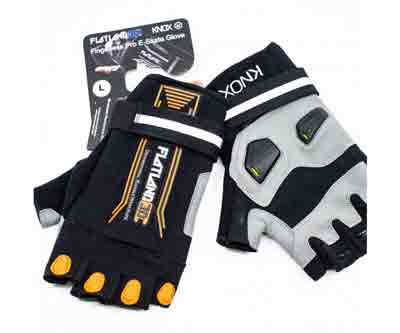
These can be a great tool for new riders just starting the learning curve, giving them confidence if they tumble at low speeds or bail unexpectedly. The wrist guards retail for around $20 USD, which makes it a very cheap addition to your safety gear. If you’re interested in more protective full-finger gloves or sliding gloves, you can check out our previous post on “Best Gloves and Wrist Guards For Electric Skateboarding”.
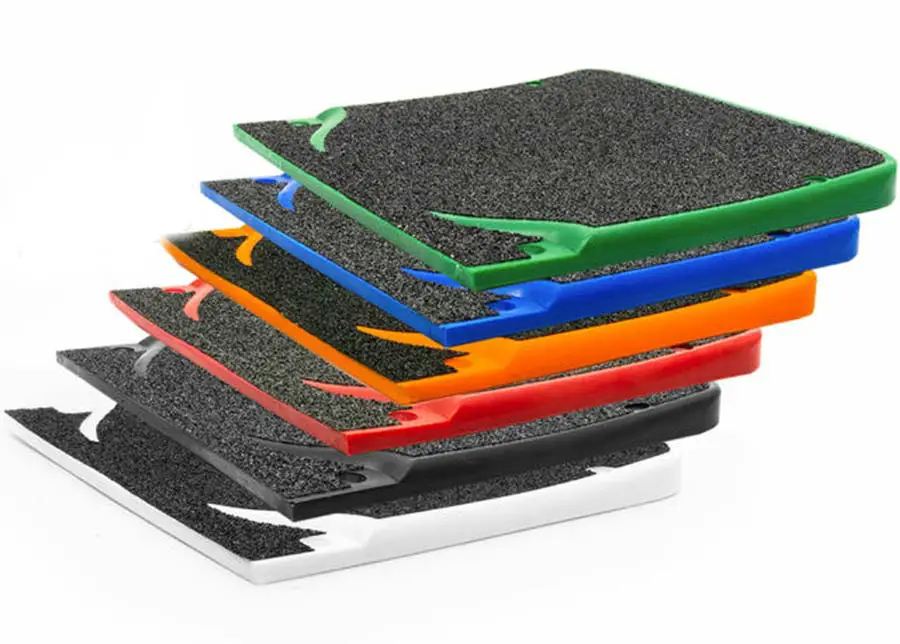
Float plates
To most Float Plates are a must have, but in my opinion, I believe it depends on how and where you use the Onewheel. Now yes, there is no doubt the Plates add another layer of protection to the bottom of your board, but I would argue most beginners and even intermediate riders don’t necessarily need them.
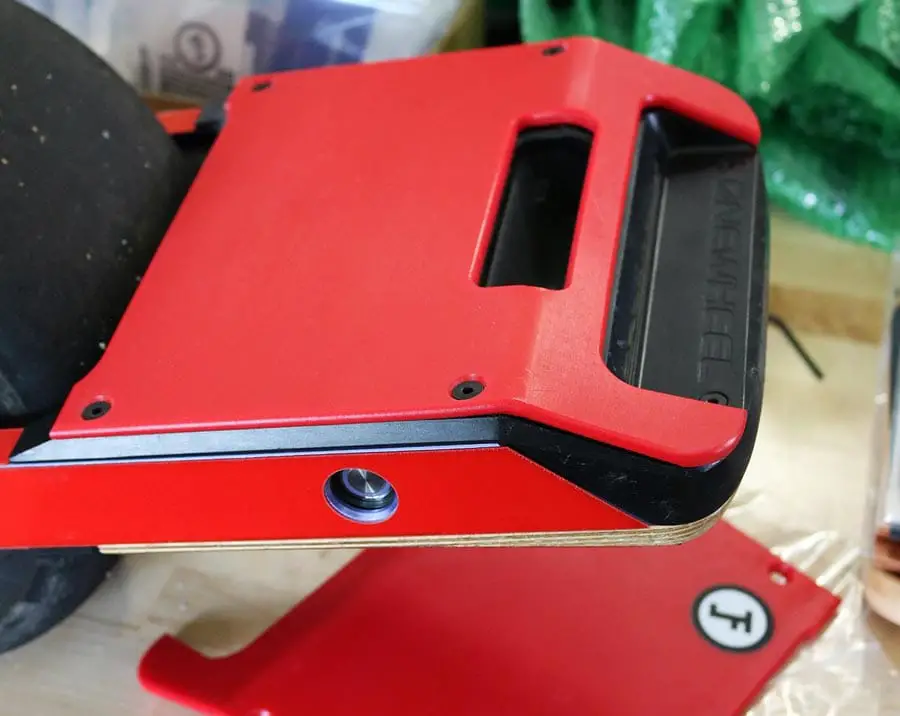
I wouldn’t make this argument if the Plates were around $25 USD, but they normally go for $59 USD, which for budget conscious buyers is very expensive compared to the pricing of other accessories on this list. This is also reinforced by my own experience without Float Plates for 700 miles, where I do tricks and trail riding about 60% of the time without any kind of issue. I’m not trying to recommend you not to buy this added protection, but if you plan on doing less trails/tricks than I do, and you’re just looking to cruise the streets, then I wouldn’t consider this a must-have accessory, more of a ‘nice to have. For someone that predominantly wants to do trick lines and jump the Onewheel off of five-foot drops, this is a no brainer. You can even get specialty wax for curbs and other obstacles to get a skateboard like ‘grind’ with the Plates. The Float Plates have been the hardest accessory for me to rationalize as a purchase, as you already paid for the Onewheel to be built to take on any terrain you throw at it, so you wouldn’t expect you’d need to insulate it with plastic plates and other covers. Again it’s your own judgment of your riding characteristics that will make up this decision, I’m just here to tell you that your board is going to be just fine if you don’t have them.
Side carry handle
This section will mainly be for +XR owners as the Pint comes with the Mag Handle. Most of you know the + and +XR both come with underside nose grips for carrying, which makes this more of a secondary accessory that you could add later if the nose handle isn’t for you. The most obvious option would be to buy a Mag Handle from Future Motion, which would run you about $70 USD in total and is more stylistic than practical. Since the Mag Handle is designed for the Pint it isn’t made to carry the weight of the +XR, it will snap much faster overtime as the handle itself is made of cheap plastic.
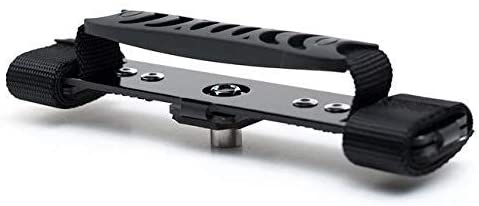
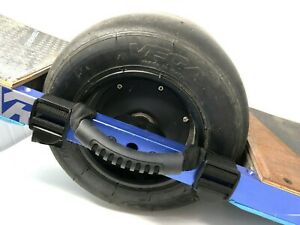
A more practical option would be Craft & Rides SilverHandle that connects to the side rail of your board and uses a stretchy backpack-like handle with a rubber grip. This handle comes at around $40 USD and will last you much longer than Future Motion’s Mag Handle as it was specifically designed for the +XR.
The last option is a DIY paracord handle, much like the SilverHandle it connects along the side rail of the Onewheel and offers stretch to decrease resistance on your hands. You can find many different tutorials on r/Onewheel or on Facebook Groups that go through a step by step assembly of this inexpensive handle.
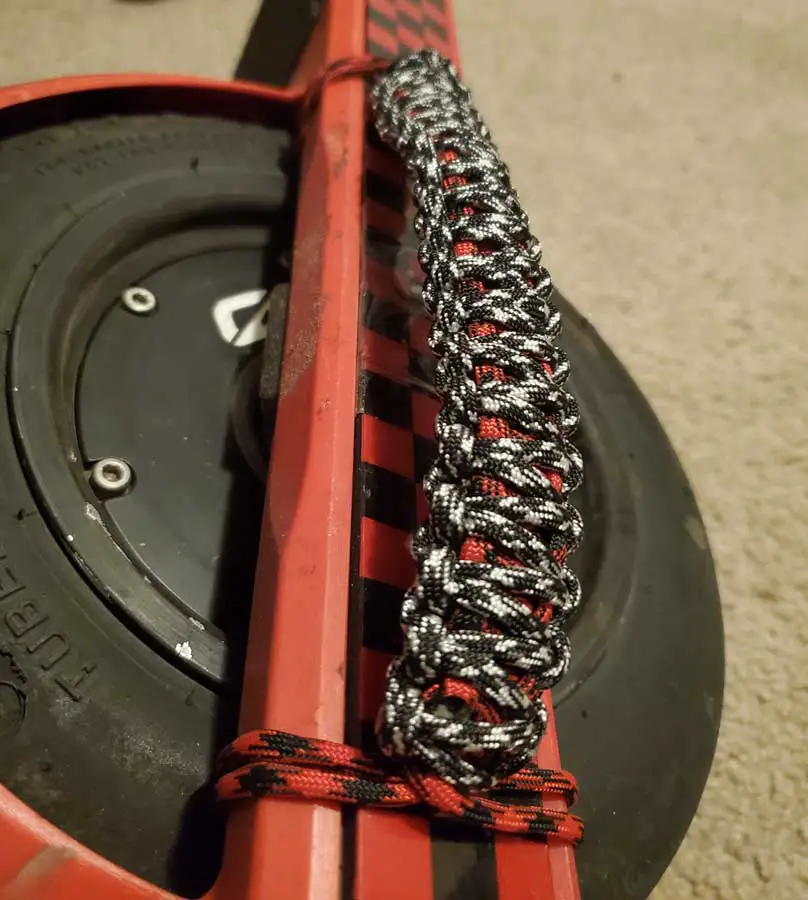
Like I said before, for +XR owners, you already have a very well functioning handle on the underside of the nose, so don’t make this a priority in terms of accessories until you’re sure that you need this additional method of carrying. Paracord Handle Tutorial on Reddit.
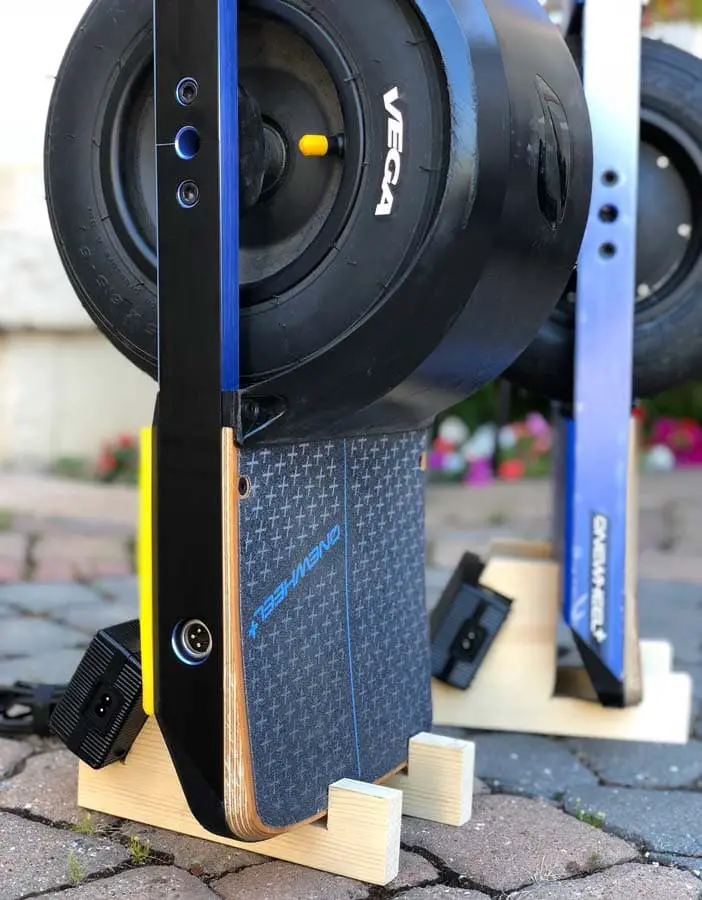
Stand
Don’t waste your money on overpriced stands from Future Motion or Accessory companies. There are tons of people with tutorials on how to build your own for a sliver of the cost, with other alternatives like guitar stands.
Another great alternative to a stand is to just buy a simple rubber floor mat, which gives a place for your Onewheel while also keeping the debris from your last ride off the floor!
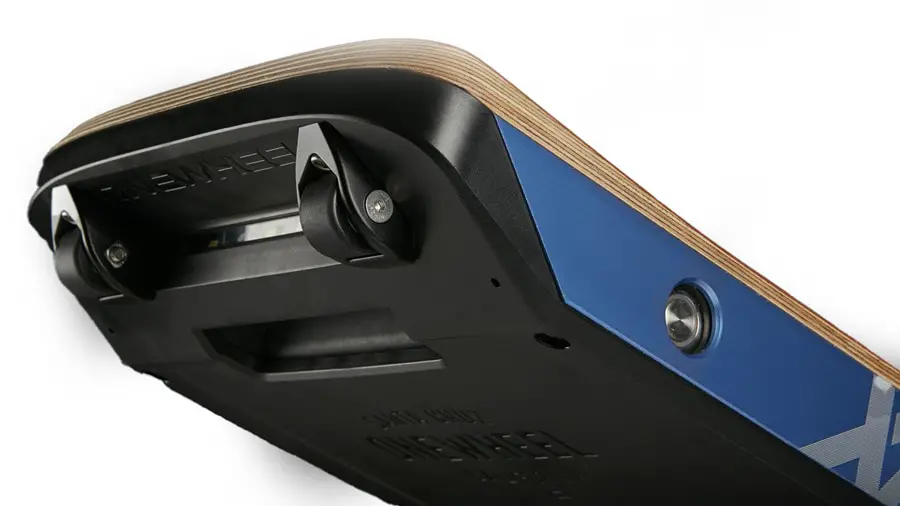
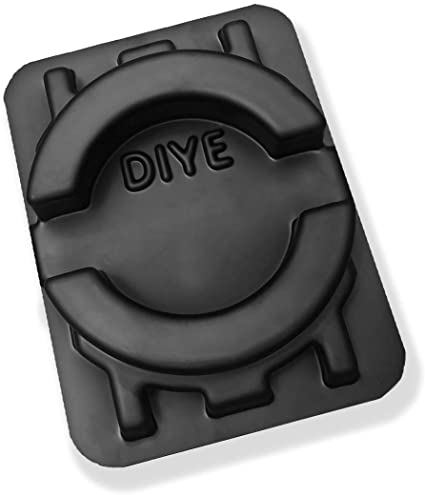
Car Holder
The Onewheel Car Holder is a great accessory for consumers who consistently travel with their board. The product essentially attaches to the side of the board like a ‘plate’ so the Onewheel has a flat side to sit on while driving. This is useful as the Onewheel is very heavy and can damage other items in the trunk or damage the car itself. If you haven’t seen some of the horror stories of windows breaking and other things being damaged you can look it up for yourself in the subreddits.
Car Holde ron Amazon 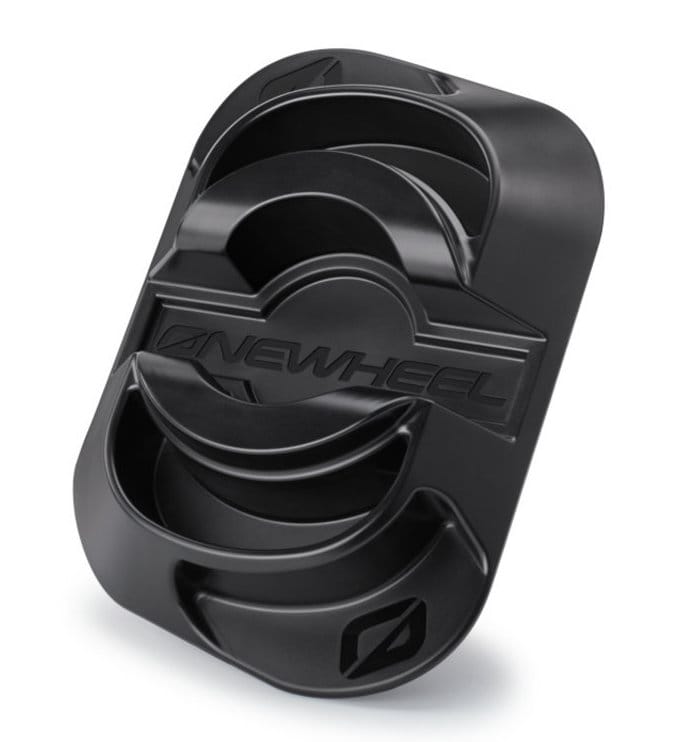
Original Carholder
In terms of where to buy this product, I would recommend buying from Amazon for $18.99 USD, Future Motion has their own version which is basically the same, but is marked up to $70 USD. There also is an argument to be made that if your trunks small enough or if you have enough other things in it, that the Onewheel won’t move enough during driving to justify buying the accessory. I would recommend trying to drive in your neighborhood with the Onewheel in your car just to test out how much the board will move in your specific car before you go out and order this.
Closing Thoughts
Keep in mind that these are my opinions based on my specific riding, and many of you may find that some of these accessories that I didn’t find useful are useful to you, and that’s ok! The whole point of these accessories is to make the board yours through style and safety, and that’s going to look different for every rider. Check out thefloatlife.com for the latest Onewheel accessories.
Just remember before you embark on this journey that you don’t need accessories to ride better or differently, the Onewheels already made to do that. What I want to get across to you is that you don’t need to buy every accessory preemptively thinking that you’re gonna need it right away, you should find a need for it in your riding habits then make the change when it’s necessary.
Thank you for taking the time to read this! If you have any questions feel free to comment or DM me on instagram @nolan_shin, I’d be happy to hear from you!
The Float Goes On!
Hey I’m curious, are the float plates compatible with the fangs?
Hey Micah,
it depends on the specific model of fangs and float plates you want to use, but from my understanding, you should be able to use both of them together.
I have found various pics of onewheels using both to them (Picture 1) (Picture 2) (Picture 3)
Hope that helped!
Best,
Daniel
Someone needs to make a wheel width brush, like a thin course broom that scrapes the pebbles off the wheel before they get caught up in the fender and rattle around. Probably only needs a strip in the back that screws or sticks to the bottom.
Looking for a 48v 4.4 ah battery for One Wheel but cannot find them 150-mm x135mm x35mm